
How to Photograph the Sunrise like a Pro
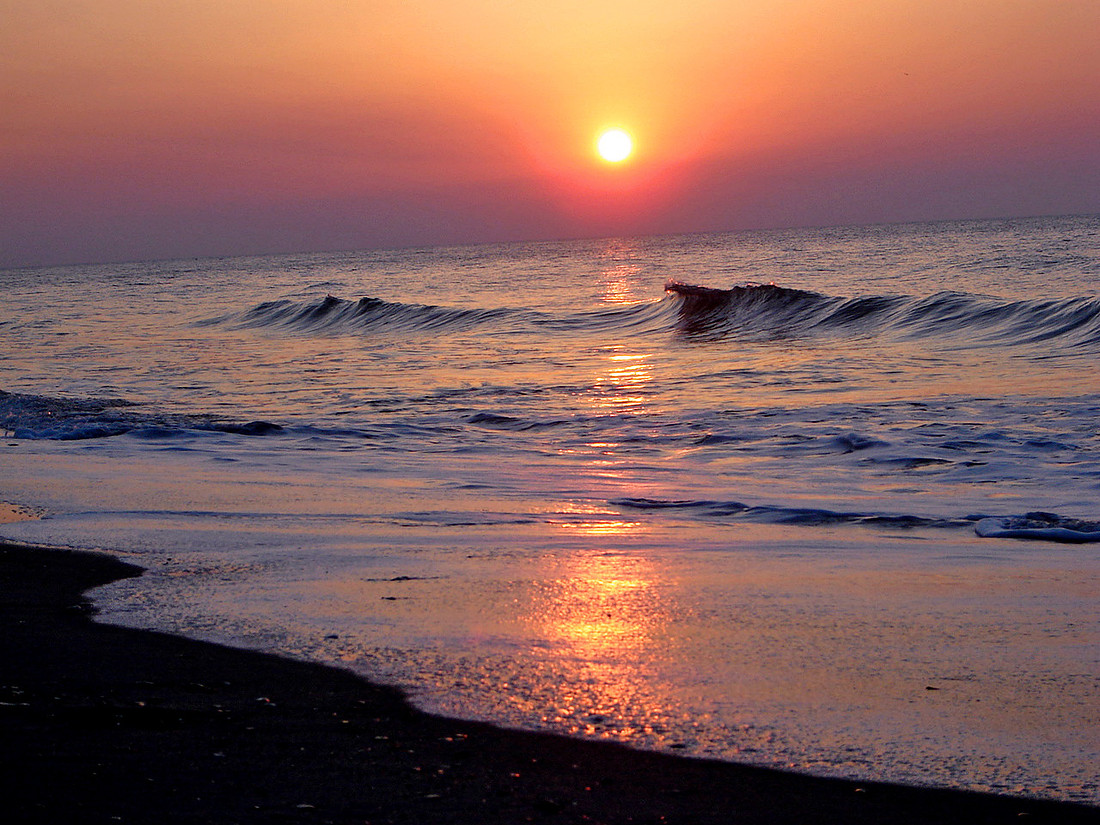
 I really enjoy photographing the sunrise. As a travel photographer it makes a great photo depending on where you're travelling at the moment. For the longest time my photos were ok at best. More error than trial. LOL. It took me a long time and lots practice to learn the art of taking a good photograph of the sun rising. My only complaint when photographing the sunrise is when you have to literally have to be up long before dawn. There is a great Apple app called Sunrise & Rise that will help you know when you have to get up and get moving. There are few suggestions that I will make within this blog that will have you shooting like a pro.
Start shooting into the sun when it peeks above the horizon. When you photograph a landscape at sunrise, the quality of the light and the color changes almost by the second. Shoot lots of frames and shoot them from different vantage points.
Use the rules of composition and pay careful attention to where you place the horizon line. Don’t get so carried away with the beauty of the sunrise that you forget that your goal is to capture compelling photographs of the sunrise; photos that people will spend some time viewing.
If you photograph a sunrise and shoot directly into the sun, your camera will try to override your best efforts. Be alert and stay one step ahead of your camera. LOL. Getting a great photograph of the sunrise requires the proper focal length, shooting mode, and more. The following list will get you moving in the right direction.
Beforehand you want to have an idea where you'll be setting up, when is sunrise and have your equipment packed and ready.
- Focal length: When you’re photographing a beautiful landscape with a rising sun, choose a wide-angle focal length between 24mm and 35mm. I usually shoot with an 18-55mm kit lens and have gotten some great photographs. The sun will be relatively small in the image, but you’ll capture the beauty of the landscape and any clouds that are in the scene. In addition, the camera won’t have to compensate for quite as wide a dynamic range because the sun is a tiny pinpoint of light. A telephoto lens on the other hand can show the sun as a big disk and give it emphasis.
- ISO: Choose the lowest possible ISO setting for the available ambient light. I always start out at ISO 100; this will give you a noise-free image. If you have to increase the ISO setting, don’t go above ISO 400, if your camera sensor is a crop sensor or ISO 800, if your camera has a full-frame sensor.
- Shooting mode: There are two opinions on what mode you should shoot in. Some use aperture priority mode when you photograph a sunrise with a beautiful landscape as this gives you complete control over the depth of field. I prefer to shoot in manual and typically start off around these settings: ISO 100, f/ 11-16, shutter speed adjusted to settings, tripod and remote release
- Aperture: Choose the smallest possible aperture that yields a shutter speed of 1/50 of a second. If your lens has image stabilization, you can get by with a shutter speed of 1/30 of a second, or perhaps 1/15 of a second if you have a very steady hand. You should use an aperture with an f-stop value of f/11 or higher. When you dial in a higher f-stop value, you get a smaller aperture and a greater depth of field. If you shoot at the largest recommended aperture and your shutter speed dips too low, the alternative is to increase the ISO setting. Always use the camera self timer or remote shutter release for a blur free image.
- Tripod: A tripod is optional but highly suggested and ensures that you get a sharper image. It will allow you to shoot using a lower ISO and smaller aperture. A slower ISO, such as 100 or 200, reduces graininess, but also requires a longer shutter to capture the light. A smaller aperture, such as f/11, reduces the amount of light coming into the camera and also requires a longer shutter.
- Exposure Compensation: When you photograph a sunrise, your camera will think the scene needs to be brighter and will crank up the exposure. The sun may be bright, but you also get dark areas in your scene.
To keep one step ahead of your camera, review your photos as your photo shoot progresses. If the image on your LCD monitor looks brighter than the scene before you, use exposure compensation to decrease the exposure.
Check out this website for some excellent tips on how to shoot fantastic sunrise photographs. Time to step outside of your comfort zone and shoot some tremendous sunrises.
Happy Shooting!
Mike
